Onboarding Guide
Introduction
Welcome to Socials Board! Now that you’ve signed up and verified your email, it’s time to set up your account. This onboarding guide will walk you through setting up your organization, selecting a package, completing billing, and getting started with your first project.
Step 1: Create Your Organization
After completing Signup guide and email verification, you’ll be redirected to the Create Organization page.
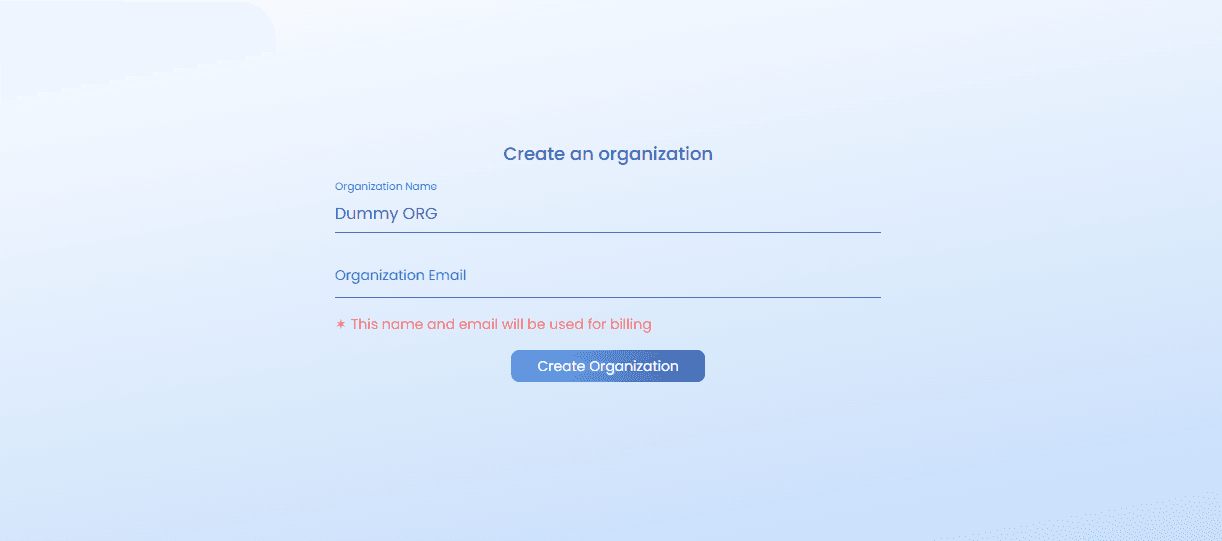
- Enter your Organization Name.
- (Optional) Enter an Organization Email.
- Click Create Organization to proceed.
Step 2: Select a Package
Next, you’ll see the Select a Package screen. You can choose from:
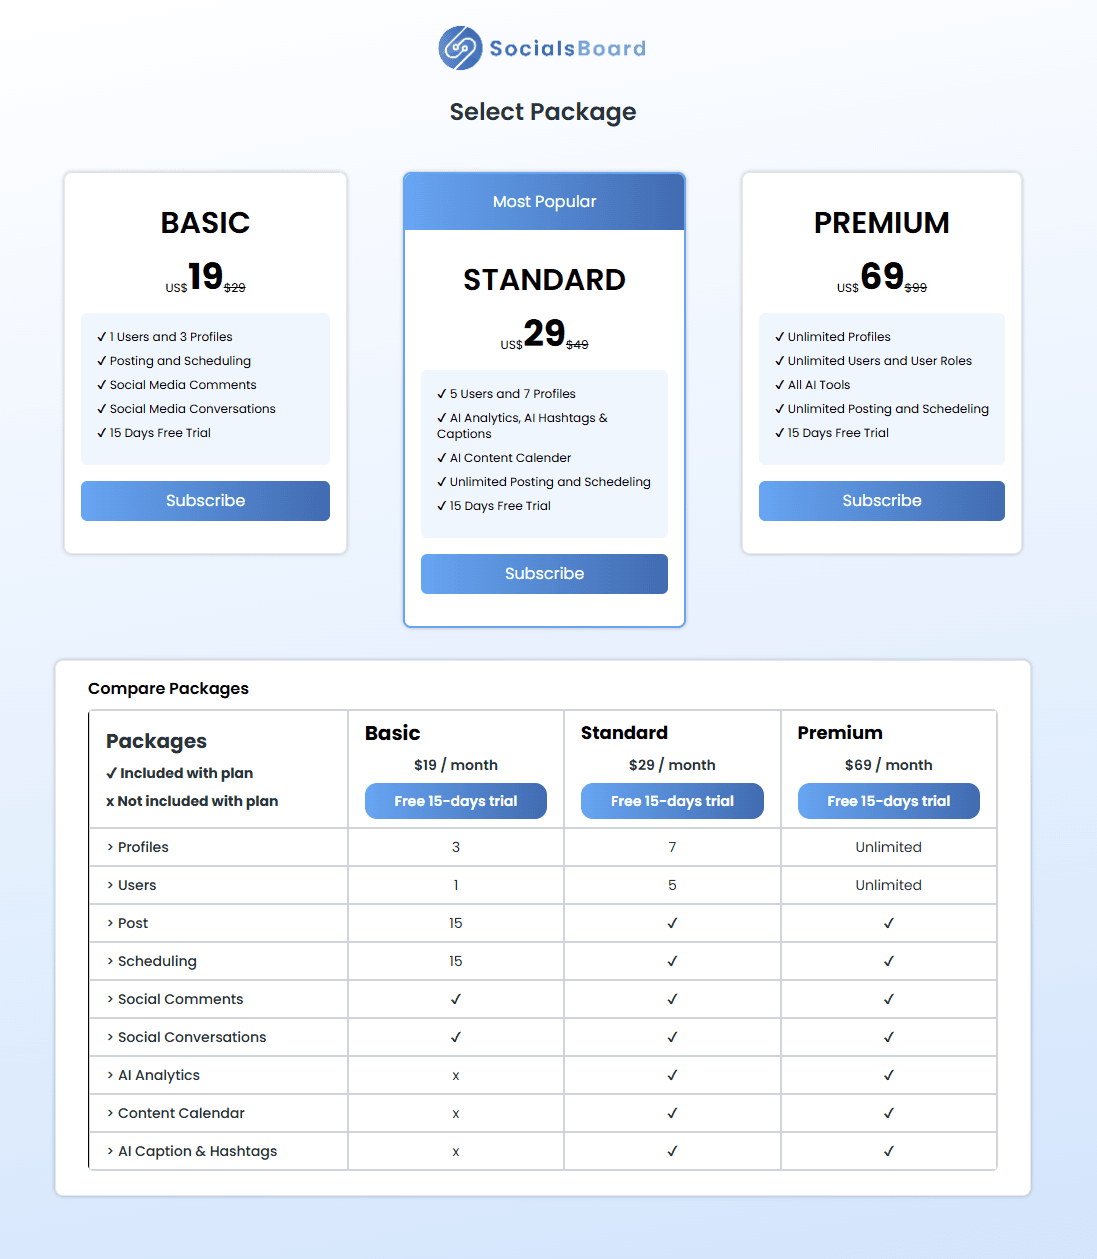
- Basic: For individuals or small teams.
- Standard: Best for growing businesses.
- Premium: Advanced features for enterprises.
Carefully view details of each plan and select the one that fits your needs.
Step 3: Billing & Payment
Once you select a package, you’ll be redirected to the Billing Screen.

- Enter your Card Details.
- Billing is processed securely via Stripe Payment Gateway.
- Click Subscribe to confirm your plan.
(Optional) Switching Plans
If you want to change your plan:
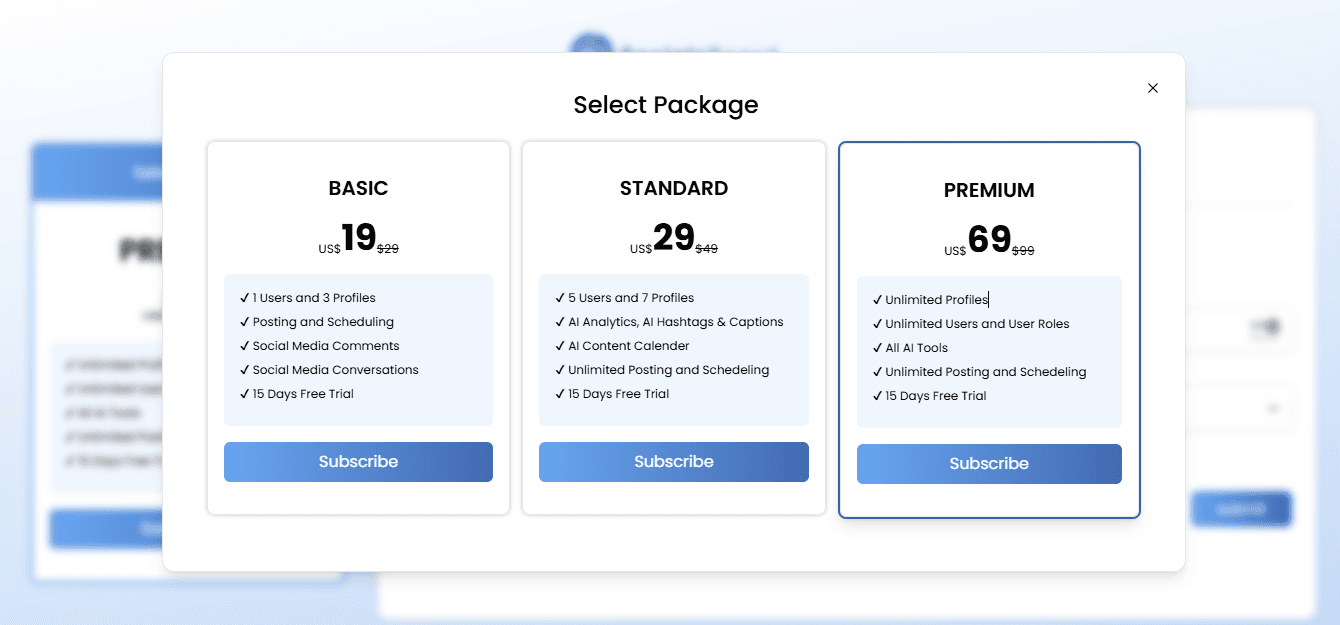
- Click the Switch Plan button on the left.
- A pop-up will appear listing all available plans.
- Select the plan you prefer.
- The selected plan will be highlighted.
- Close the pop-up and continue with payment.
Step 4: Create a Project Profile
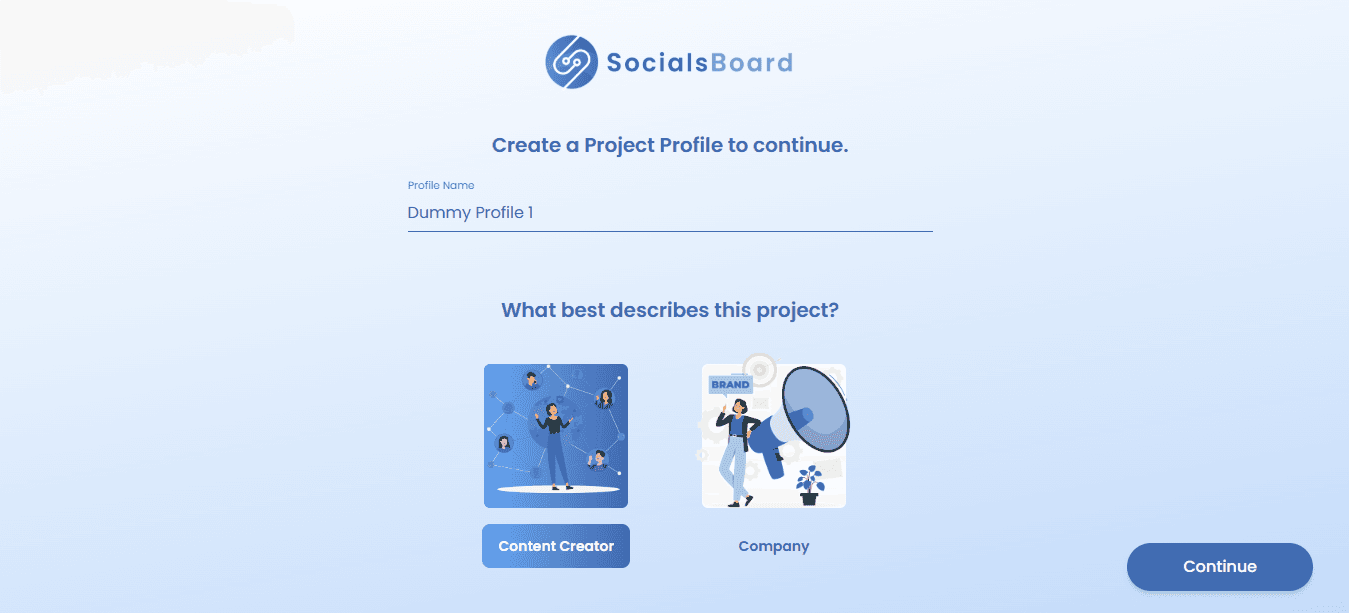
After completing billing, you’ll be redirected to Create a Project Profile.
- Enter your Project Name.
- Provide any relevant details.
- Click Continue to proceed.
Step 5: Add a Social Account
You’ll now be asked to Link a Social Account.
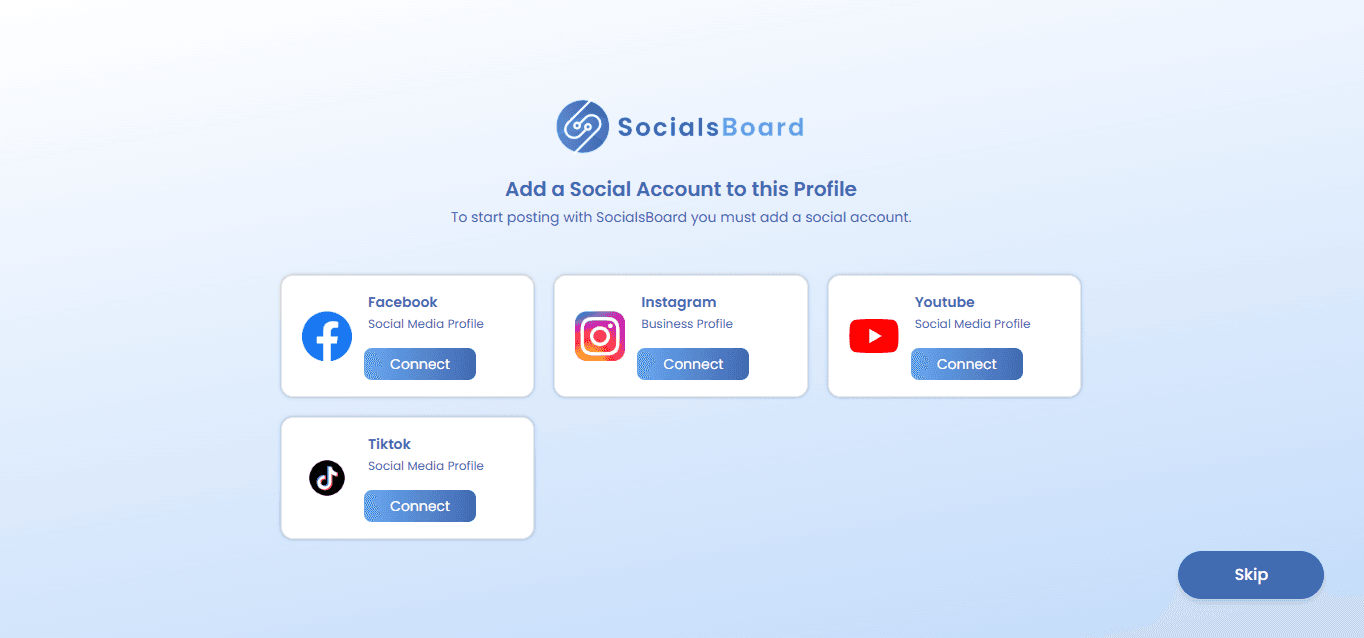
- Click Skip to do this later.
- If you prefer to Link a Social Account, goto Link Account Section for more details.
Step 6: Welcome to Your Dashboard!
🎉 Congratulations! Your onboarding process is complete.
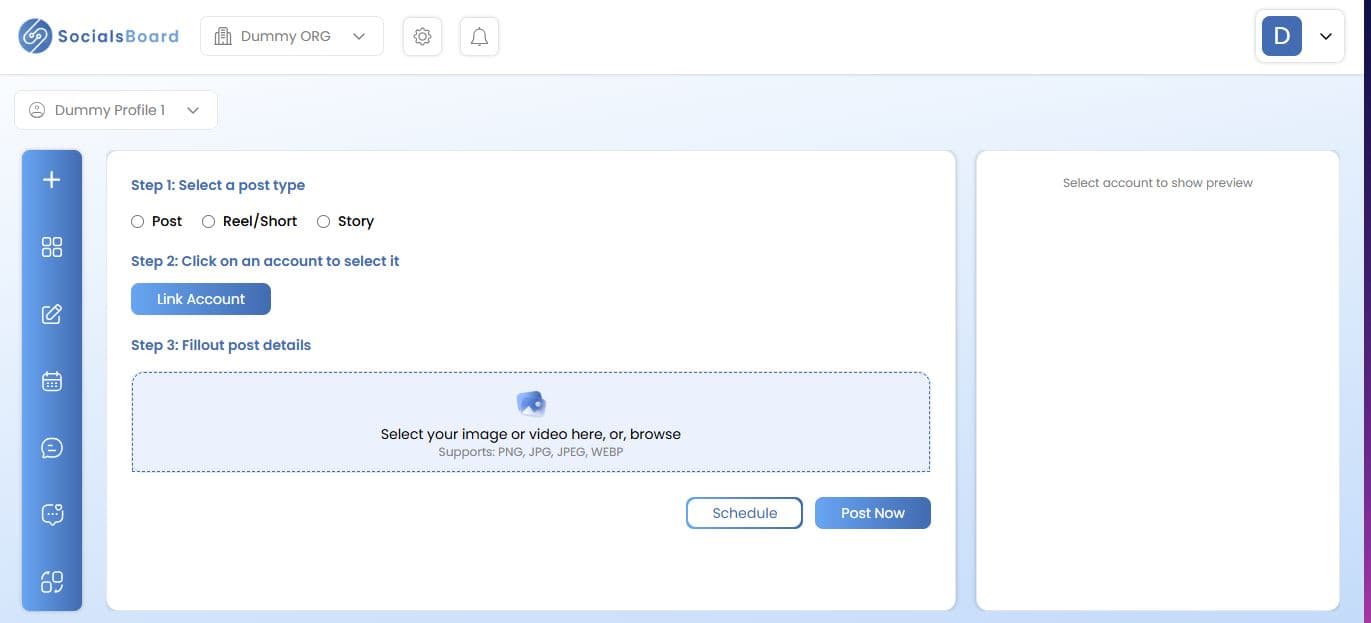
- You can now access the Dashboard. - Your Organization and Profile details will be visible in the top-left corner. - To learn more, check the Organization or Profile sections. ---
If you have any issues, refer to the troubleshooting section or contact support. 🚀